 David Straub
Getting Started with Gramps Web
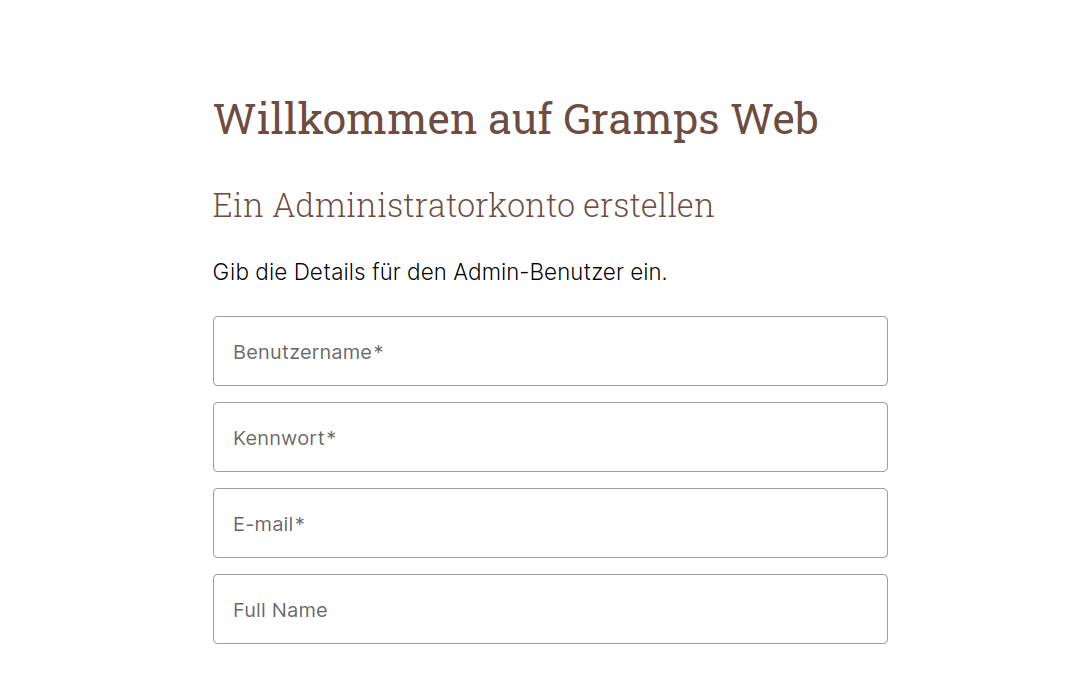
If you followed the last article on Getting Started with Grampshub or have set up your own Gramps Web installation according to the official guide, you’ll first see the “Welcome to Gramps Web” page.
Creating the first account
The “Welcome to Gramps Web” start page
The first part of the form is for creating the administrator account, i.e., the user who has full control over the genealogy database and can create additional user accounts. Remember: this user account is independent of the account linked to Stripe and Grampshub subscription management. Using the same email address for both is sensible but not required.
The username and email address must be unique for a domain. This means, for example, that on all of Grampshub (not just for one tree), a username and email address can only exist once. This is necessary so Gramps Web knows which tree a user account belongs to when logging in. If a username is already taken, you’ll see an error message when creating the admin account and will need to adjust the name; the same applies to the email address.
Finally, you can enter the user’s full name.
Importing genealogical data
Most users will already have genealogical data they want to import into Gramps Web. If you’re starting from scratch, just click “Submit” and you’re ready to go!
Gramps Web supports all file formats that Gramps Desktop can import: Gramps XML, GEDCOM, GeneWeb, Pro-Gen, vCard, CSV. For importing an existing tree including media files, we strongly recommend using Gramps XML. If you’re not yet using Gramps Desktop, consider installing it, as synchronizing between Gramps Desktop and Gramps Web offers a lot of flexibility. If you only want to use Gramps Web and don’t need to upload media files linked to the tree, you can simply import a GEDCOM file and get started.
Preparing your genealogical data
Even if you already have your data in Gramps Desktop, you should take two steps before uploading it to Gramps Web.
The first step is to use the tool in the menu “Tools > Tree Repair > Check and Repair Database.” It fixes inconsistencies in the Gramps database that could complicate synchronization with Gramps Web later. It also recalculates the checksums of media files, which are very important for Gramps Web to function properly.
The second step is to convert all media paths to relative paths. This is necessary because absolute paths won’t work on the web server. You can do this by selecting the appropriate option in the menu “Tools > Tools > Media Manager.”
 Selecting the conversion of media paths in the Gramps Media Manager
Once you’ve completed these two steps, you can start the export in Gramps under “Trees > Export.” Choose the format “Gramps XML (tree)”—not “Tree and Media,” as the media will be uploaded separately in the next step.
We recommend exporting the complete database, including all records marked as confidential and without applying any filters. This ensures Gramps Web can later synchronize smoothly with Gramps Desktop. The visibility of confidential records can be restricted to certain users in Gramps Web using user permissions.
Starting the data import
Once you have prepared the XML file (with the .gramps extension), you can either select it directly on the “Welcome to Gramps Web” page and start the import by clicking “Submit,” or skip this step and import the data later via the “Import” page in Gramps Web. The result is the same.
Choosing language and home person
After submitting the first form, Gramps Web presents another selection form. These are the user settings, which only apply to the current device (PC, tablet, or smartphone) and do not affect other users. This includes the interface language (in most cases, the system language is detected automatically) and the “home person.” A link to the home person is shown on the start page, and all graphical views, such as the ancestor chart, use the home person as the starting point. Most users set themselves or one of their children as the home person, but this can be changed at any time.
Importing media files
If you uploaded a Gramps XML file from a database that also contains media files, you’ll need to upload the media files in a separate step. The easiest way is to put all media files into a ZIP archive and upload this ZIP file in Gramps Web on the “Import” page under “Import media files.” It doesn’t matter whether the uploaded files are zipped in the same folder structure as Gramps expects. Gramps Web matches files based on checksums, i.e., the content of the files. Extra files in the ZIP are ignored and deleted from the server after processing.
That’s the guide for getting started with Gramps Web! In the next article, we’ll look at synchronizing between Gramps Web and Gramps Desktop.